Homemade Toilet for Camping: Easy DIY Solutions for Outdoor Comfort
Camping is fun—until you need to go to the bathroom. Finding a clean, private toilet is tough in the wild. Public restrooms are often dirty, crowded, or too far away. The woods? Not everyone feels comfortable or safe. If you’ve struggled with these problems, you’re not alone. Making your own homemade toilet for camping is a simple solution that brings comfort and peace of mind.
Why Build A Homemade Toilet For Camping?
Nature does not offer much privacy. Even when you find a spot, you may worry about hygiene, smell, or polluting the environment. Store-bought portable toilets can be expensive and sometimes bulky. Making your own camping toilet is cheaper, easy to carry, and can be customized.
Benefits You’ll Notice Right Away
- Saves money—often less than $20
- Lightweight and portable
- Easy to clean and maintain
- Better for the environment when used properly
Let’s look at how you can build your own, step by step.
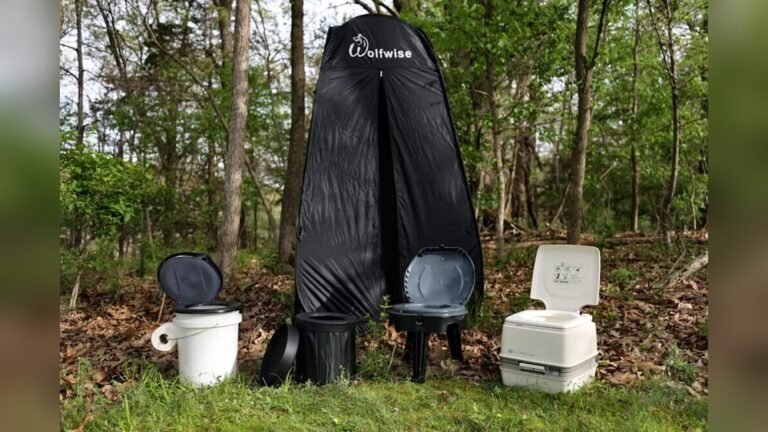
Types Of Homemade Camping Toilets
Not all campers need the same toilet. Your choice depends on your group size, trip length, and comfort level. Here are the three most common types:
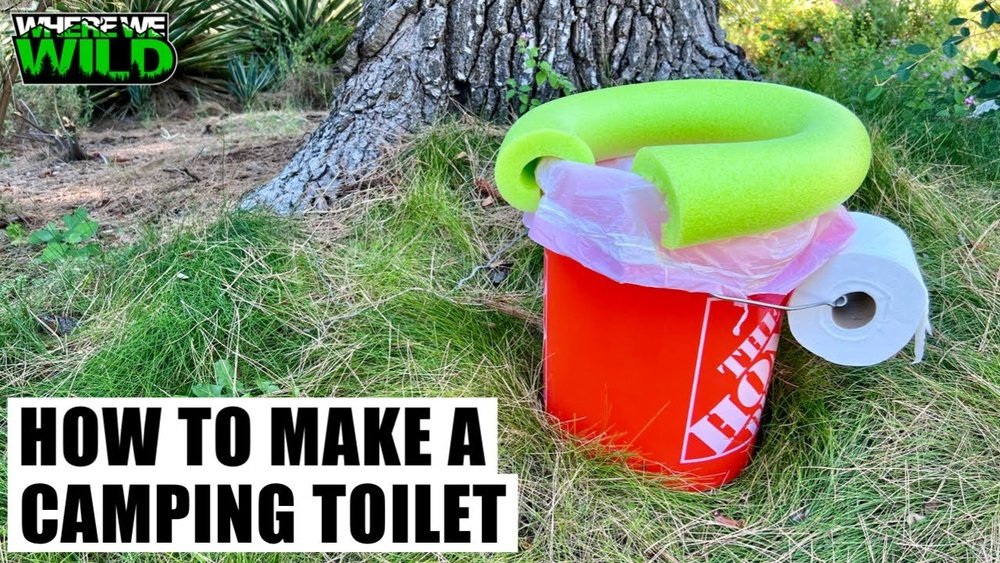
1. Bucket Toilet
This is the simplest and most popular homemade toilet. All you need is a bucket, a seat, and a few supplies.
What you need:
- 5-gallon plastic bucket (sturdy)
- Heavy-duty trash bags (at least 13 gallons)
- Pool noodle or snap-on toilet seat
- Absorbent material (cat litter, sawdust, or peat moss)
How it works:
Line the bucket with a trash bag. Add a layer of absorbent material at the bottom. Place the seat or pool noodle on top for comfort. After each use, cover waste with more absorbent material. Tie up and dispose of the bag properly when full.
Extra tip: Double-bag for extra leak protection.
2. Trench Or Cathole Toilet
If you want a low-cost, zero-waste option and you’re camping in a wild area, dig a small hole.
What you need:
- Small shovel or trowel
- Biodegradable toilet paper
How it works:
Dig a hole 6–8 inches deep and at least 200 feet from water. After use, cover with soil. Only use this method where allowed, and never near rivers or campsites.
Extra tip: Mark the spot so others do not dig nearby.
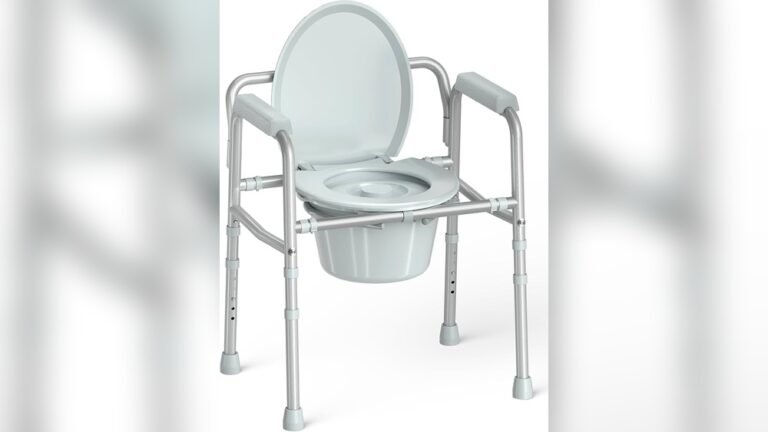
3. Folding Seat Or Chair Toilet
This design uses a collapsible chair frame and is good for car campers who want a bit more comfort.
What you need:
- Folding camping chair (remove the fabric seat)
- 5-gallon bucket or trash bag setup
- Toilet seat (optional but nice)
How it works:
Place the bucket or bag under the open chair frame. Attach a toilet seat if possible. This gives a raised, comfortable seat for easier use.
Extra tip: Choose a sturdy chair—cheap ones can break!
Step-by-step: How To Make A Bucket Toilet
Let’s focus on the most popular and beginner-friendly option—the bucket toilet. It’s simple, but a few small upgrades make a big difference.
Supplies And Cost Breakdown
| Item | Estimated Cost | Where to Find |
|---|---|---|
| 5-gallon bucket | $5–$7 | Hardware store, home improvement |
| Snap-on toilet seat | $8–$12 | Camping store, online |
| Trash bags | $0.15 each | Grocery store |
| Absorbent material | $2–$4 | Pet store, garden center |
Total cost: Around $15–$20. Reusable for many trips.
Simple Assembly Guide
- Line the bucket with a heavy-duty trash bag.
- Add a layer (about 1 inch) of cat litter, sawdust, or peat moss.
- Fit the seat (snap-on or pool noodle slit lengthwise) on top.
- After use, cover waste with more absorbent material.
- Seal the bag tightly when full. Dispose of according to local rules.
Pro tip: Always keep extra bags and material. You’ll use more than you think.
How To Use And Maintain Your Camping Toilet
Hygiene Is Key
- Use hand sanitizer or a handwashing station nearby.
- Clean the bucket and seat after each trip.
- Never leave waste or bags in the wild—pack it out or use proper disposal sites.
Smell And Bug Control
- Cover waste with absorbent material after every use.
- Use a bucket with a tight-fitting lid when not in use.
- Sprinkle baking soda for extra odor control.
Safety And Comfort
- Place your toilet on level ground.
- Use a privacy tent or tarp if camping with others.
- Always set up at least 200 feet from water sources to avoid pollution.
Smart Upgrades For Your Homemade Toilet
A basic bucket works, but a few tweaks improve comfort and cleanliness.
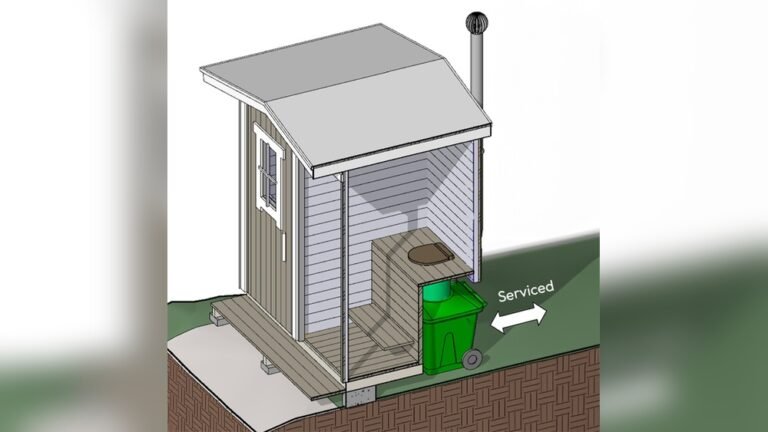
Add A Privacy Shelter
Pop-up privacy tents are lightweight and easy to set up. They give you a private space and help with wind and rain.
Diy Handwashing Station
Fill a water jug with a spigot, add some soap, and keep towels nearby. Clean hands are just as important as a clean toilet.
Make A Toilet Paper Holder
Hang a small bungee cord or use a zip tie to attach a roll to the bucket handle. This keeps it dry and off the ground.
Bring Scent Control
Pack a small bottle of essential oil or air freshener. A few drops in the bucket after use can help.
Environmental Responsibility
Using a homemade toilet for camping helps protect nature—but only if used correctly.
- Always pack out waste if possible. Many parks require it.
- Use biodegradable bags if you must bury them (only where legal).
- Never dump waste in streams, lakes, or near campsites.
Improper disposal can spread disease and harm wildlife. Be a responsible camper.

Credit: www.youtube.com
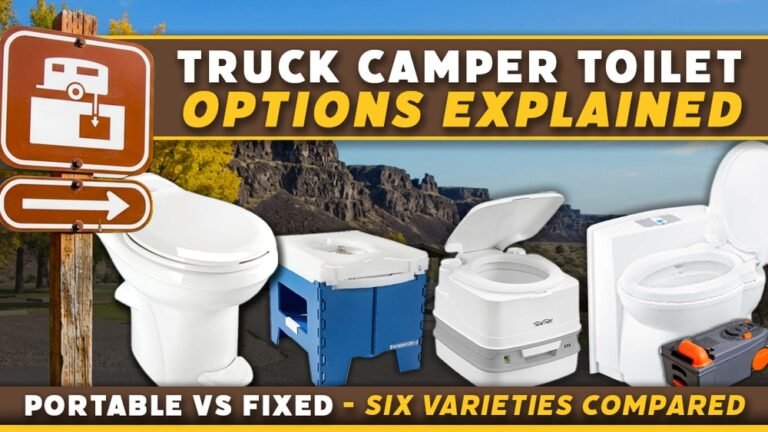
Comparing Homemade Toilets To Commercial Options
How does a homemade toilet stack up against store-bought models? Here’s a quick comparison.
| Feature | Homemade Toilet | Commercial Portable Toilet |
|---|---|---|
| Cost | Low ($15–$20) | High ($60–$120+) |
| Portability | Lightweight, simple | Heavier, some bulky |
| Comfort | Basic, customizable | Often more comfortable |
| Waste Disposal | Bag-based, pack out | Tank/chemical, needs cleaning |
| Setup Time | 5 minutes | 10–15 minutes |
Key insight: Most campers are happy with a bucket setup for trips under one week. For longer stays or big groups, commercial toilets may be better.
Common Mistakes To Avoid
Even simple setups can go wrong. Here are mistakes beginners often make:
- Using thin bags: These often tear and leak. Always use heavy-duty or double up.
- Forgetting to bring extra absorbent material: You’ll need more than you think.
- Setting up too close to water: This can pollute the area.
- Not cleaning after each use: This leads to bad smells and germs.
- Ignoring disposal rules: Always check park or forest guidelines before your trip.

Credit: www.motherearthnews.com
Real-world Examples And Tips
- Family camping: One group used a bucket toilet with cat litter for a family of five during a three-day trip. They reported no smell and easy disposal at a campground dumpster.
- Backpackers: Lightweight folding seat toilets are popular for groups who hike far. They save weight but require more care to set up safely.
- Festival goers: DIY toilets are used at music festivals where lines for restrooms are long. Adding essential oil kept things fresh.
Non-obvious tip: If you camp often, consider painting your toilet bucket a bright color. This makes it easy to spot at night and avoids mix-ups with water buckets.
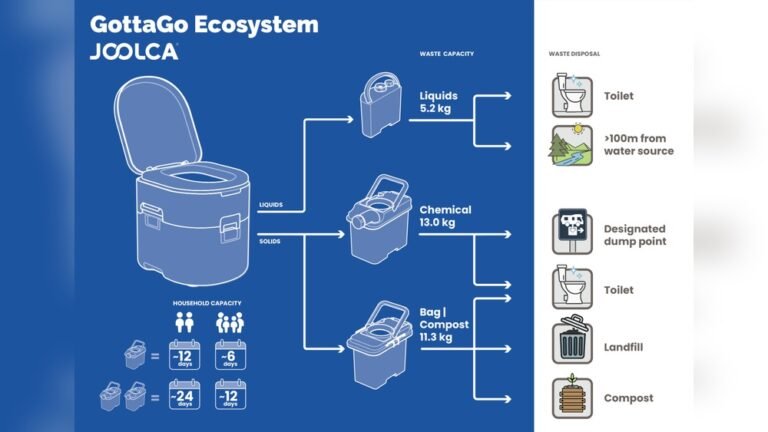
Advanced Design: Urine-diverting Toilet
If you want to reduce smell and waste, try separating pee and poop.
How it works: Use two containers—one for liquids, one for solids. This keeps things drier and easier to manage. Urine can be poured far from water sources (where allowed), and solids are packed out.
This method reduces odor and weight. It’s common in tiny houses and eco-cabins, but works for camping too.

Credit: cinemaximiliaan.org
At-a-glance: Pros And Cons
| Pros | Cons |
|---|---|
| Cheap and easy | Less comfortable than real toilets |
| Customizable | Requires frequent cleaning |
| Good for short trips | Bags must be packed out |
| Lightweight and portable | May feel awkward for beginners |
Where To Learn More
For more details on waste disposal and Leave No Trace camping, check out the official guidelines at Leave No Trace Center for Outdoor Ethics.
Frequently Asked Questions
What Can I Use Instead Of Cat Litter In My Camping Toilet?
You can use sawdust, peat moss, shredded paper, or dry leaves. The goal is to absorb liquid and cover odor. Avoid sand or dirt—they don’t work as well.
How Do I Dispose Of Waste From A Homemade Toilet?
Always pack out bags and dispose of them in a proper trash bin. Never bury plastic bags or dump waste in the wild. Some parks have special stations for toilet waste.
Can I Make A Camping Toilet With Things I Already Own?
Yes! Many campers use a regular bucket, a strong trash bag, and a pool noodle as a seat. The key is absorbent material and a leak-proof setup.
How Do I Control Odor In A Homemade Toilet?
Cover waste with more absorbent material after each use. Baking soda helps. Keep the lid on tight and empty the bucket daily if possible.
Is It Legal To Use Homemade Toilets Everywhere?
No. Some parks require specific toilets or waste systems. Check the rules before your trip. Always follow Leave No Trace guidelines.
Building a homemade toilet for camping is simple, affordable, and makes your trip much more comfortable. With a little planning, you can protect both your group and the environment. Happy camping!