How to Make a Portable Toilet Out of a Bucket: Easy DIY Guide
If you’ve ever tried camping, road-tripping, or working on a remote site, you know the struggle. Nature calls, but there’s no bathroom in sight. Public toilets are sometimes dirty, far away, or just not there at all. Holding it in is uncomfortable and unhealthy.
You need a simple, clean solution—fast.
A portable toilet made from a bucket can save the day. It’s cheap, easy to build, and works almost anywhere. No fancy tools, no complicated steps. In this guide, you’ll learn how to make a reliable, practical bucket toilet that’s perfect for emergencies, travel, or outdoor fun.
Why Choose A Bucket Toilet?
A bucket toilet solves many problems when you’re away from home. It doesn’t need plumbing or electricity. You can set it up in a tent, a car, a boat, or even in your backyard during repairs.
Here are some reasons to make one:
- Affordable: Costs much less than store-bought camping toilets.
- Simple to use: No special skills needed.
- Portable: Easy to move and store.
- Customizable: Make it fit your needs.
Did you know? In a 2022 survey, 64% of campers said bathroom access was the biggest challenge outdoors.
Essential Supplies: What You’ll Need
You don’t need many items. Most are cheap and easy to find at home improvement stores or online.
- 5-gallon plastic bucket (with lid): Choose a strong, clean bucket.
- Heavy-duty trash bags (13-gallon or more): These hold waste and keep things sanitary.
- Pool noodle or foam pipe insulation: For a soft toilet seat.
- Absorbent material: Options include kitty litter, sawdust, peat moss, or even shredded newspaper.
- Disinfectant spray or wipes: For cleaning after each use.
- Toilet paper: Essential for comfort.
- Rubber gloves: For safe handling during cleaning.
- Duct tape: For securing the seat or fixing leaks.
- Scissors or a utility knife: For cutting the pool noodle.
You can add extras like hand sanitizer, odor-control packets, or a privacy tent. But the basics above are all you need.
Step-by-step Guide: Building Your Bucket Toilet
Making a bucket toilet is easier than you think. Follow these steps for the best results.
1. Prepare The Bucket
Start with a clean, sturdy 5-gallon bucket. If it’s been used for paint or chemicals, wash it well with soap and hot water. Dry completely before use.
2. Add A Liner
Place a heavy-duty trash bag inside the bucket. Make sure the bag covers the rim and hangs over the edge. Double-bag for extra safety, especially if you plan to use it for several days.
3. Create A Comfortable Seat
A hard plastic rim is not comfortable. Here’s a simple fix:
- Cut a pool noodle or foam pipe to fit around the bucket’s rim.
- Slice it lengthwise so it opens up.
- Place it over the bucket edge, making a soft, cushioned seat.
Secure it with duct tape if needed. This small step makes a big difference, especially for kids or older adults.
4. Add Absorbent Material
Pour 1–2 inches of kitty litter, sawdust, peat moss, or shredded newspaper into the bottom of the bag. This absorbs liquid, reduces odor, and makes cleaning easier.
5. Use The Toilet
Sit as you would on a normal toilet. When finished, sprinkle more absorbent material over the waste. This keeps smells down and helps dry things out.
6. Seal After Each Use
Close the bag tightly or snap the bucket lid on when not in use. If you’re sharing the toilet, change the bag daily or whenever it’s about half full.
7. Safe Disposal
When the bag is full, tie it tightly. Dispose of it in a proper trash bin. Some areas have rules for human waste—check local guidelines. Never dump waste in nature.
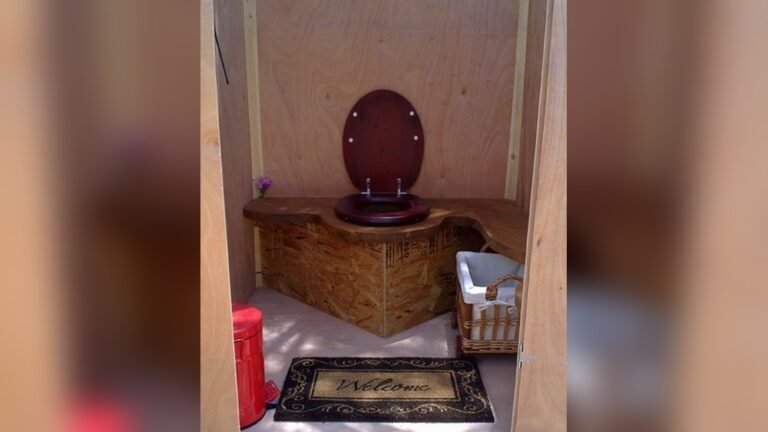
Making Your Bucket Toilet More Comfortable
A basic bucket toilet works, but you can upgrade it for extra comfort and hygiene.
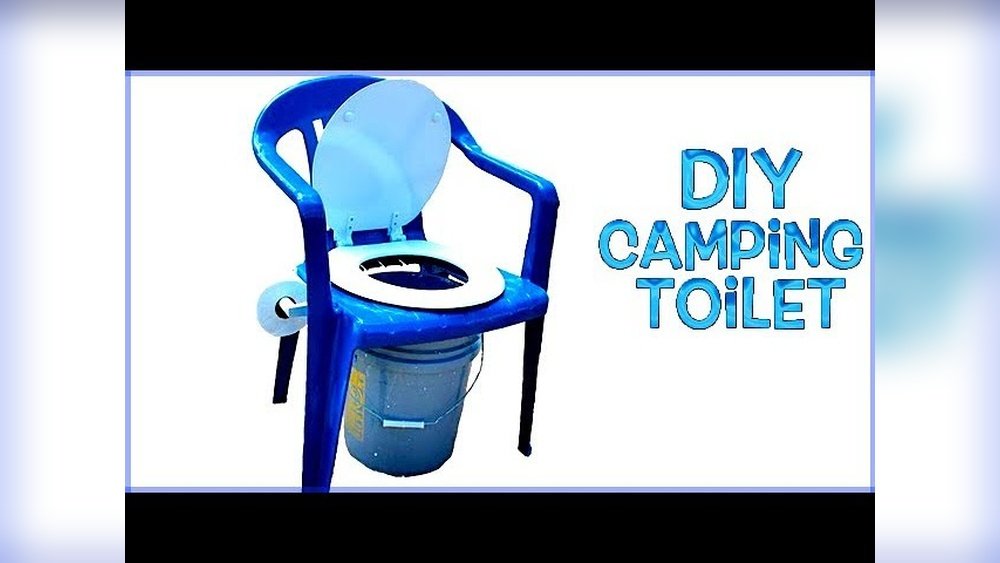
- Add a real toilet seat: Some seats fit on buckets or snap on top.
- Use deodorizing packets: These fight bad smells.
- Bring a privacy tent: Gives you a private space, even in crowded campsites.
- Keep supplies in a caddy: Store toilet paper, spray, wipes, and gloves together.
Did you know? A good seat and privacy make people twice as likely to use a portable toilet, according to a 2021 camping study.
Credit: www.rmoutlook.com
Comparing Absorbent Materials
Some materials work better than others. Here’s a quick comparison:
| Material | Absorbs Odor | Cost | Easy to Find |
|---|---|---|---|
| Kitty Litter | Excellent | Medium | Yes |
| Sawdust | Good | Low | Yes |
| Peat Moss | Very Good | Medium | Sometimes |
| Shredded Newspaper | Fair | Low | Yes |
Kitty litter is best for odor but costs more. Sawdust is cheap and works well if you have access. Peat moss is great but not always available. Newspaper is free but less effective for smell.
Cleaning And Maintenance Tips
Good cleaning keeps your bucket toilet safe and pleasant.
- Wipe the seat and rim after each use with disinfectant wipes or spray.
- Change the bag before it gets too full. Never let it overflow.
- Wash the bucket with hot water and soap between uses, if possible.
- Store supplies in a dry, easy-to-reach place.
For long trips, bring extra liners and cleaning items. Clean hands with sanitizer after every use.

Credit: www.treksw.com
Common Mistakes To Avoid
Many beginners make these mistakes. Avoid them for a better experience.
- Using thin trash bags: They can rip or leak. Always choose heavy-duty bags.
- Skipping absorbent material: This leads to bad smells and messy cleanup.
- Overfilling the bag: Makes disposal harder and riskier.
- Not sealing the bag well: Causes leaks and odors.
- Ignoring local disposal rules: Some places have strict waste laws.
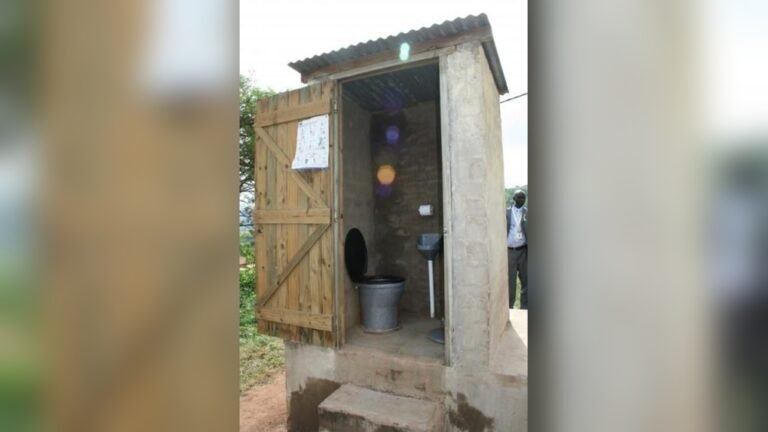
Privacy And Setup Ideas
Privacy matters, even outdoors. Here are some smart ideas:
- Pop-up privacy tent: Easy to set up and take down. Lightweight and folds small.
- Hanging a tarp or sheet: Tie to trees or your car for a quick barrier.
- Using your vehicle: Some people use their car or van as a private toilet room.
Pro tip: Hang a battery-powered light inside your privacy tent for nighttime use.

Credit: www.youtube.com
When And Where To Use A Bucket Toilet
A bucket toilet is handy for many situations:
- Camping trips: Especially in remote areas without bathrooms.
- Road trips: Useful during long drives or in traffic jams.
- Boating: Great for small boats without toilets.
- Home emergencies: During plumbing repairs or natural disasters.
- Outdoor events: Festivals, fairs, or construction sites.
In 2020, over 48 million Americans went camping. More than half chose places without toilets, making portable toilets a must-have.
Environmental Concerns
Using a bucket toilet is better for nature than going directly on the ground. Waste stays contained, making cleanup safe. Always use biodegradable liners if possible and dispose of waste in proper trash bins.
Never bury plastic bags or dump them in water. If you camp often, research Leave No Trace principles for more eco-friendly tips.
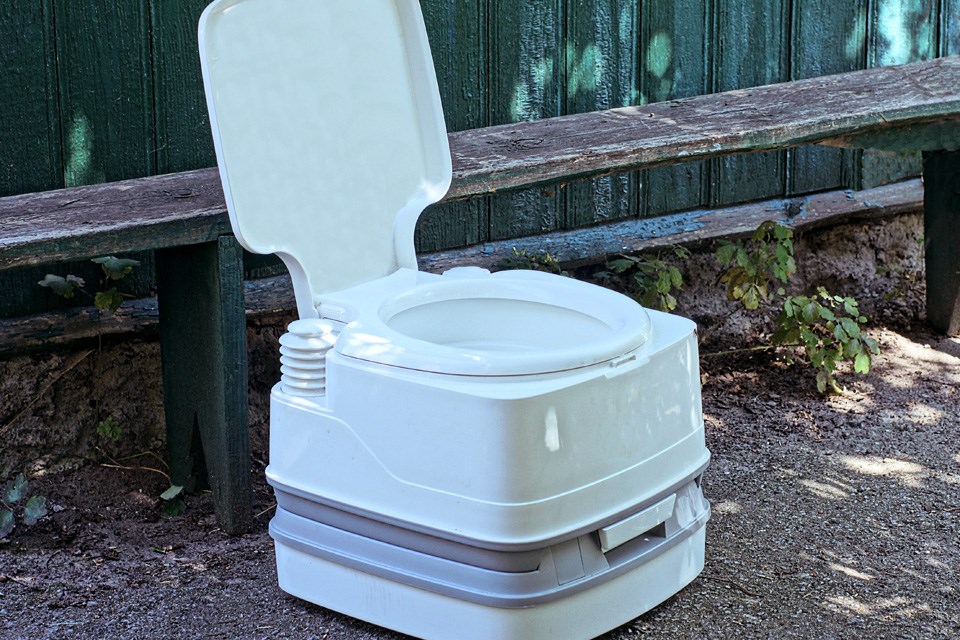
Comparison: Bucket Toilet Vs. Store-bought Camping Toilet
Wondering if a homemade bucket toilet is right for you? Here’s how it stacks up:
| Feature | Bucket Toilet | Camping Toilet |
|---|---|---|
| Cost | Very Low (under $20) | Medium-High ($40–$150) |
| Setup Time | 5–10 minutes | 10–15 minutes |
| Parts to Clean | Few | Many |
| Odor Control | Depends on materials | Usually better |
| Portability | Excellent | Good |
| Durability | Very Good | Excellent |
A bucket toilet is simple, cheap, and effective. A camping toilet may look nicer and control odor better, but costs more.
Safety And Health Tips
Clean hands and safe waste handling are important.
- Always wash or sanitize hands after use.
- Wear rubber gloves when changing bags.
- Keep children away from waste bags.
- Store the toilet out of direct sun to reduce odor.
- Change absorbent material often to keep it fresh.
Real-life Example
Sarah, a solo camper, used a bucket toilet for a two-week road trip. She lined the bucket with double bags, added kitty litter, and kept it in a privacy tent. She said, “It was easy, clean, and much better than public bathrooms.
I never worried about finding a restroom, even in remote spots. ”
Frequently Asked Questions
How Many Times Can You Use A Bucket Toilet Before Changing The Bag?
It depends on bag size and number of users. For one person, change after 2–3 uses or once the bag is half full. For families, change more often. Never fill past two-thirds.
Is Kitty Litter Necessary, Or Can I Use Something Else?
No, it’s not required. You can use sawdust, peat moss, or even shredded newspaper. The goal is to absorb liquid and control odor.
Can I Use A Bucket Toilet Indoors During Emergencies?
Yes, but keep it in a well-ventilated room. Seal and remove bags often. Always clean the bucket and wash hands after each use.
How Do I Stop The Bucket Toilet From Smelling Bad?
Use enough absorbent material after each use. Seal the bag tightly. Clean the seat and rim often. Store the toilet in a cool place.
Are There Special Bags For Bucket Toilets?
Yes. Some companies sell biodegradable toilet bags or “wag bags” that fit 5-gallon buckets. These are stronger and more eco-friendly. Learn more about eco-friendly waste solutions on NPS.gov.
A bucket toilet is a simple, low-cost way to stay comfortable and clean wherever you go. With the right supplies and a little care, you’ll never worry about finding a bathroom again. Happy travels!