How to Store a Camping Toilet: Essential Tips for Easy Maintenance
Camping should be fun, not stressful. But nothing ruins a good trip like a dirty, smelly camping toilet. Many campers forget about storage until it’s too late. Maybe you’ve opened your gear box, only to find a foul odor, stains, or even leaks from last season’s toilet.
It’s frustrating, embarrassing, and can spoil your mood before you even hit the trail.
Let’s be honest: portable toilets are a game-changer for comfort, privacy, and hygiene outdoors. But if you don’t store them right, you’ll face mess, bacteria, and even damage. Whether you use a simple bucket, a chemical toilet, or a composting model, proper storage is just as important as choosing the right tent or sleeping bag. This guide will show you how to store a camping toilet safely, keep your gear fresh, and avoid unpleasant surprises on your next adventure.
Why Proper Camping Toilet Storage Matters
Storing a camping toilet isn’t just about saving space. It’s about health, safety, and protecting your investment. A poorly stored toilet can grow mold, trap smells, or break during transport. Worse, improper storage can lead to leaks, which are not only gross but can also attract animals and insects.
Many campers overlook this step, thinking a quick rinse is enough. In reality, good storage keeps your toilet clean, extends its life, and ensures your next trip starts off right. If you’ve ever dealt with a ruined toilet, you know it’s worth the effort.
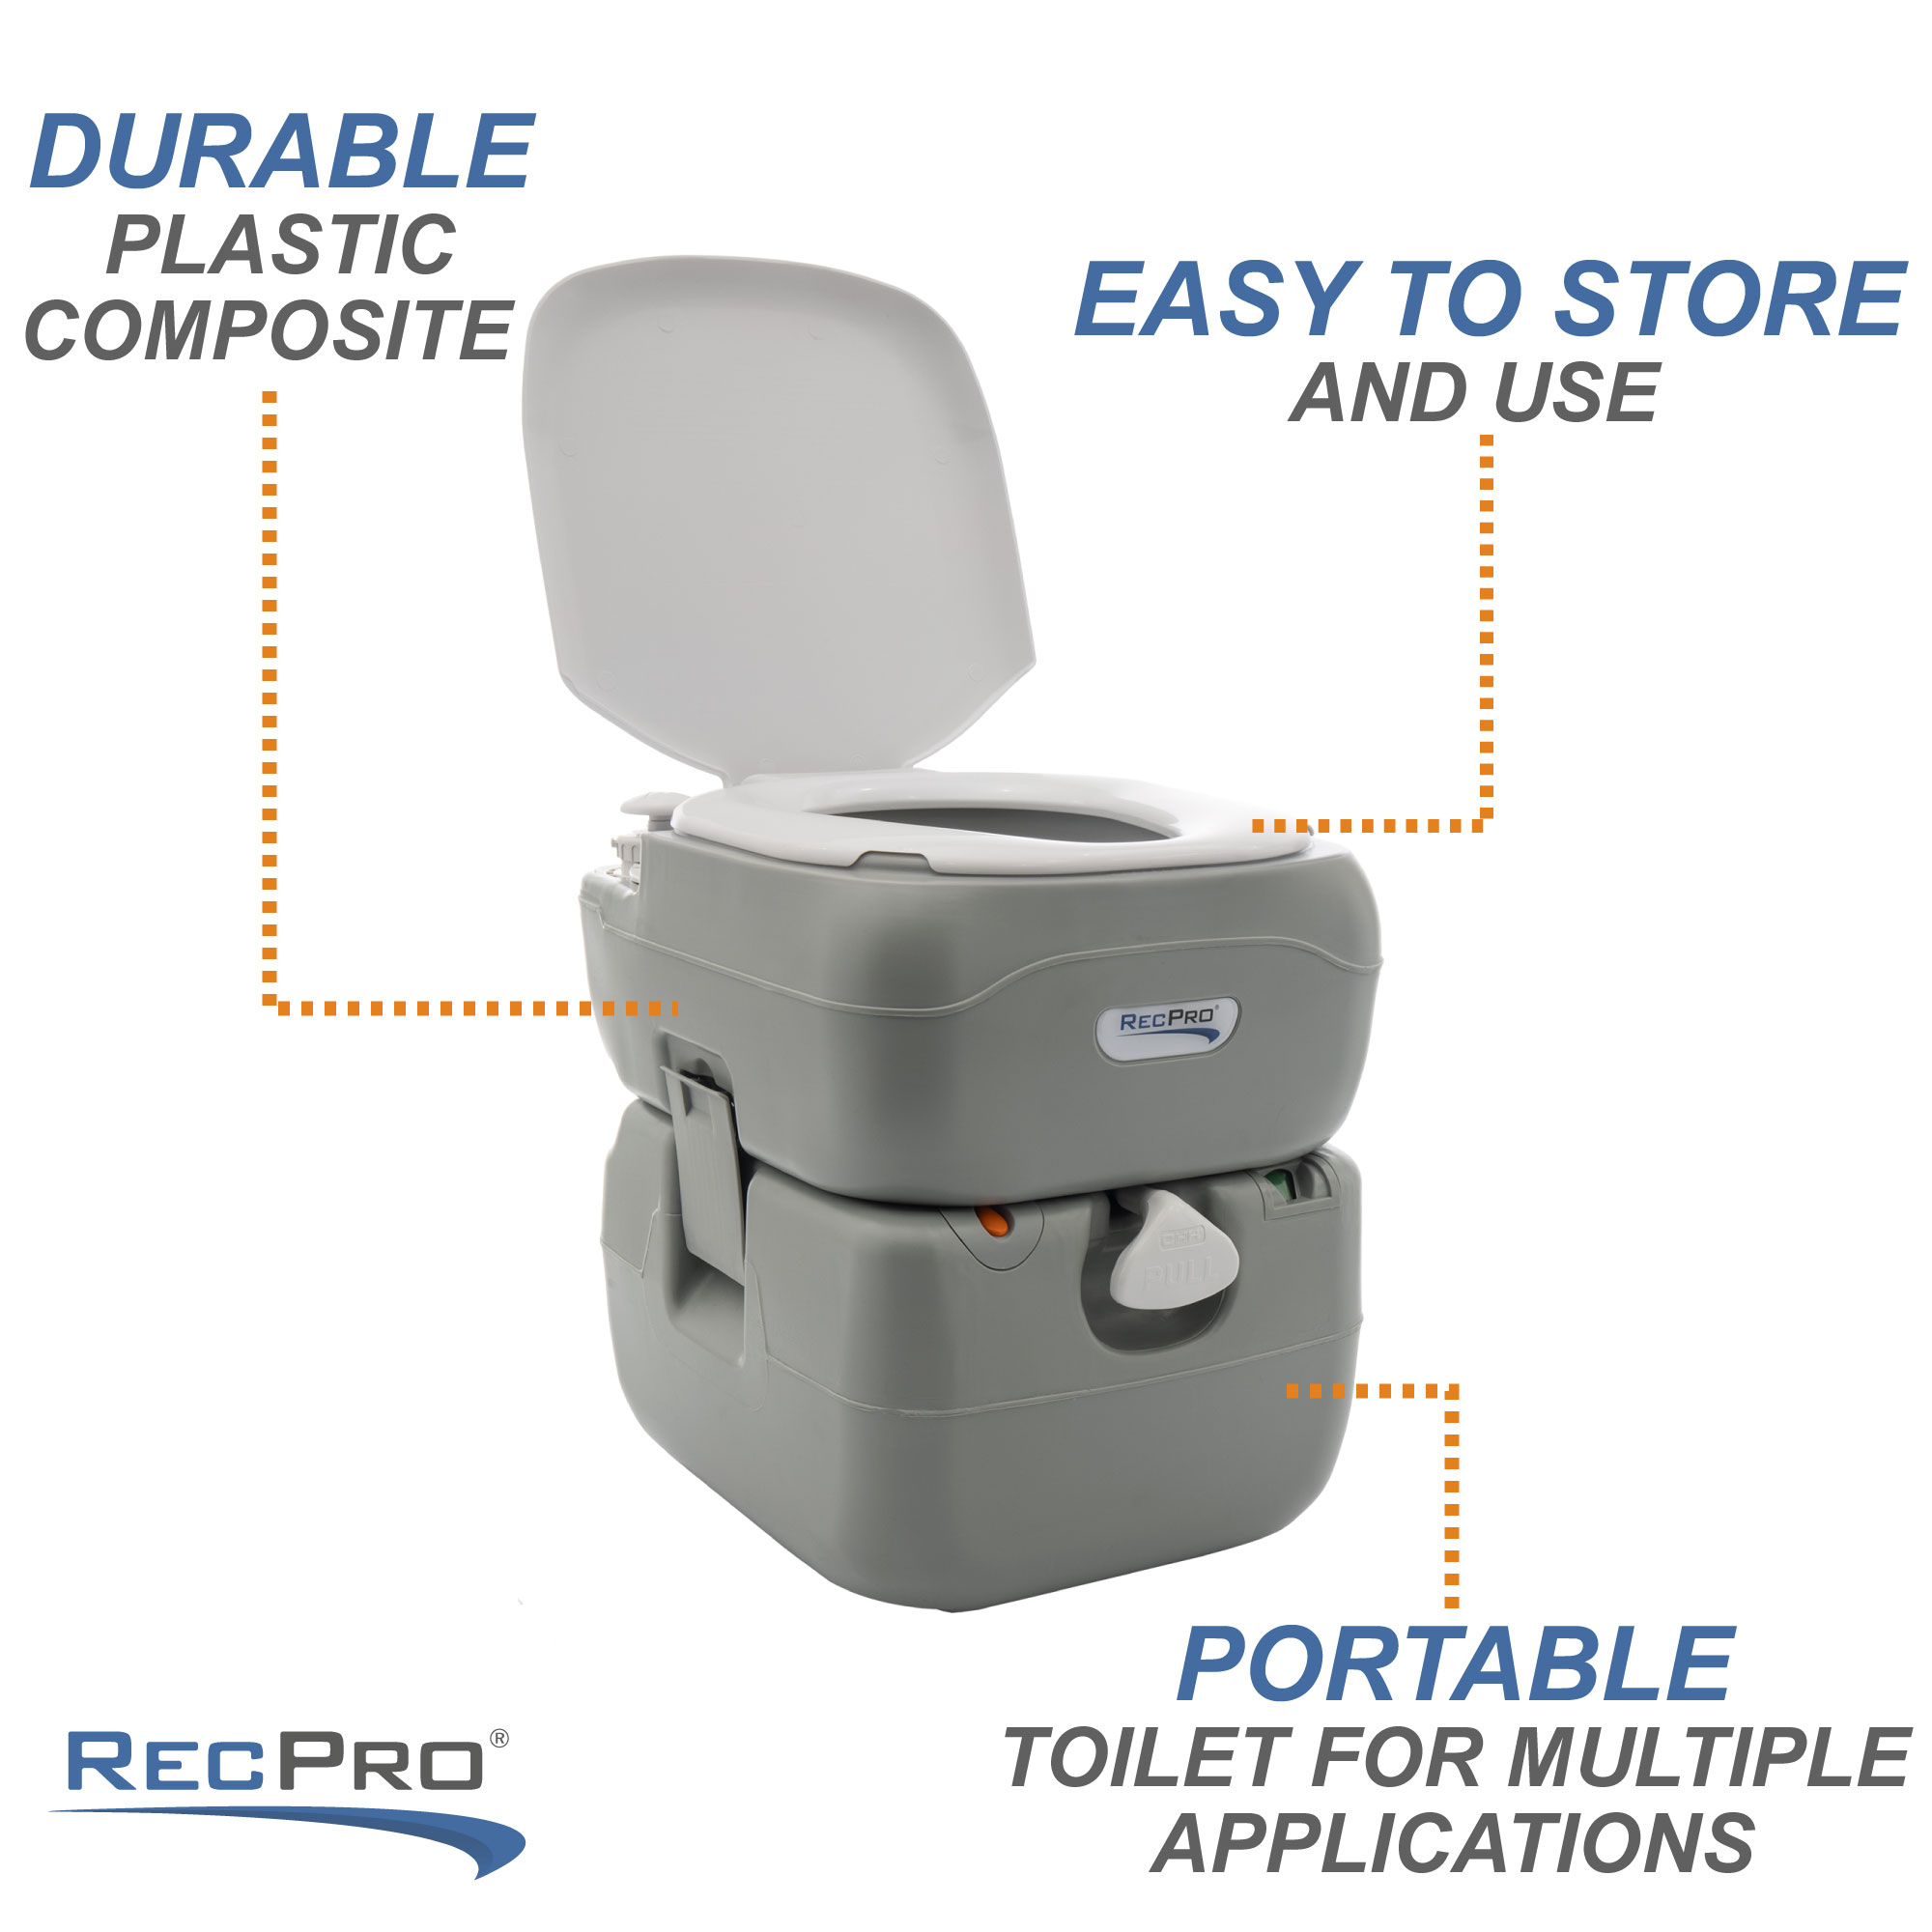
Types Of Camping Toilets And Their Storage Needs
Not all camping toilets are the same. How you store them depends on their design, size, and materials. Here’s a quick comparison:
| Type | Common Material | Typical Storage Need |
|---|---|---|
| Buckets/Bag Toilets | Plastic, Polyethylene | Simple, compact, easy to clean |
| Chemical Toilets (Porta Potty) | Plastic, Seals | Requires full cleaning, chemical disposal |
| Composting Toilets | Plastic, Metal parts | Needs to be dry, ventilated, emptied fully |
Buckets or bag toilets are the easiest to store but can smell if not cleaned. Chemical toilets need extra care with waste tanks and seals. Composting toilets must stay dry and are sensitive to moisture. Knowing your model helps you avoid mistakes and damage.
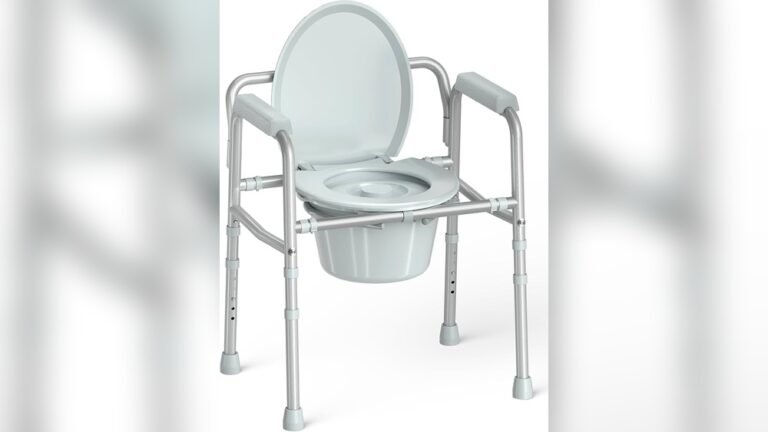
Credit: recpro.com
Step-by-step: How To Store A Camping Toilet
1. Empty All Waste Properly
Never store a toilet with waste inside. Leftover waste is not just unsanitary—it can make cleaning much harder later. Always:
- Empty the toilet at an approved dump station or home toilet.
- Rinse out any residue with water.
- For chemical toilets, dispose of chemicals following local rules.
Some campers think it’s fine to wait until next time, but bacteria grow fast. Even a small amount left inside can create strong odors and stains.
2. Deep Clean Every Surface
After emptying, clean every part, not just the bowl. Use a mild detergent or a mix of water and white vinegar. Avoid harsh chemicals—they can damage seals and plastic.
- Scrub the toilet with a dedicated brush.
- Rinse with clean water.
- Dry with a towel or let air dry in the sun.
For composting toilets, remove all solids and clean the urine diverter. Leftover organic matter can attract bugs or mold.
3. Dry Completely Before Storage
Moisture is the enemy. Mold and mildew form quickly inside damp toilets. Make sure all parts are 100% dry:
- Leave the lid and any valves open for a few hours.
- Use a soft cloth to wipe hidden corners.
- For folding or collapsible toilets, check joints and hinges.
If you store your toilet even a little damp, you risk bad smells and ruined parts.
4. Check And Maintain Seals And Moving Parts
Before packing up, check seals, gaskets, and moving parts for wear or cracks. A small crack can lead to big leaks later.
- Apply silicone lubricant to rubber seals if your model has them.
- Replace any damaged parts.
- For chemical toilets, check the flush mechanism and valves.
Beginners often miss this step, but a well-maintained seal prevents leaks during transport.
5. Use The Right Storage Bag Or Box
Don’t just toss your toilet into the trunk or storage room. Use a dedicated storage bag or box. It protects from dust, pests, and bumps.
- Choose a bag made of waterproof material.
- If possible, pick one with a zipper and handles for easy carrying.
- For larger toilets, a plastic storage bin with a lid works well.
Label the container, so you always know where your camping toilet is—no last-minute searching.
6. Store In A Cool, Dry Place
Heat and humidity can warp plastic, damage seals, and encourage bacteria. The best spot is:
- Indoors, such as a garage or closet.
- Off the ground, away from pets and pests.
- Away from direct sunlight or heaters.
If storing in a vehicle, check for leaks in the roof or windows. Even a little water can cause problems over time.
7. Add Odor Absorbers For Extra Freshness
Even a clean toilet can pick up musty smells in storage. Placing odor absorbers inside the tank or bag helps. Try:
- Baking soda in a small open container.
- Commercial moisture absorbers.
- Charcoal packets.
Never use strong-smelling chemicals, as they can damage the toilet or make it unpleasant to use later.
8. Keep Supplies Together
Don’t forget the accessories! Store toilet paper, waste bags, chemicals, and cleaning supplies in the same container or nearby. This saves time packing and reduces forgotten items.
A simple tip: use a smaller bin or pouch for these extras. That way, everything is ready when you are.
9. Regularly Check During Off-season
If you only camp a few times a year, check your stored toilet every few months. Open the bag or box, look for moisture, pests, or cracks. Air it out if needed.
Campers often forget this and find problems right before a trip. A quick check avoids surprises.
10. Prepare For Quick Use
Before your next trip, make sure your toilet is ready. Restock supplies, check seals, and give it a quick rinse if needed.
Experienced campers know: the best time to fix problems is at home, not at the campsite.
Common Mistakes To Avoid
It’s easy to make storage mistakes, especially for new campers. Here are some common errors:
- Storing without cleaning – Even a quick rinse isn’t enough.
- Leaving damp – Trapped moisture leads to mold and bad smells.
- Ignoring seals – Dried-out gaskets cause leaks.
- Storing outdoors – Sun, rain, and animals can ruin your toilet.
- Mixing supplies – Chemicals stored with food or cookware can be dangerous.
Avoid these traps, and your camping toilet will last for years.

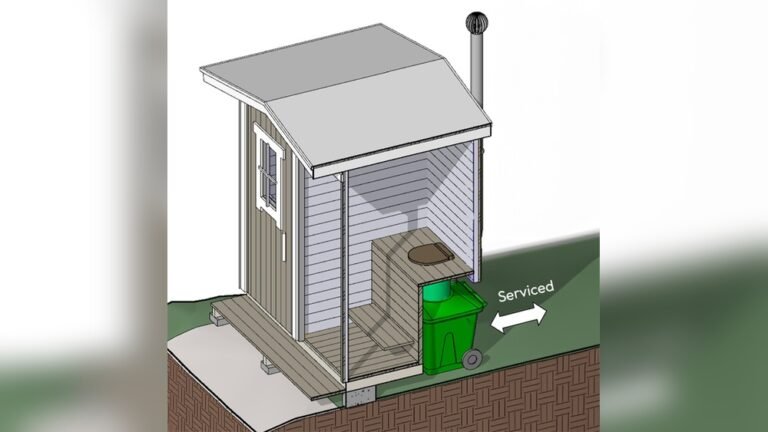
Credit: alsanidi.com.sa
Real-life Examples: Good And Bad Storage
Imagine two campers, Lisa and Dan. Lisa cleans, dries, and stores her chemical toilet in a sealed plastic bin in her garage. She adds baking soda and keeps her supplies together. Next season, her toilet is fresh and ready.
Dan, on the other hand, rinses quickly and leaves his toilet in a damp shed. He forgets to check the seals. When he opens it, he finds mold, a cracked tank, and a terrible smell. He ends up buying a new toilet.
The difference? Just a few simple storage habits.
Storage Differences: Chemical Vs. Composting Toilets
Chemical and composting toilets have unique needs. Here’s a quick side-by-side for easy reference:
| Feature | Chemical Toilet | Composting Toilet |
|---|---|---|
| Waste Disposal | Dump station or home toilet | Remove solids, compost as allowed |
| Odor Control | Uses chemicals | Uses dry material/ventilation |
| Drying Needed | Yes, especially tank | Yes, all parts |
| Storage Risk | Chemical leaks | Mold, pests |
If you switch between types, review your storage steps. Composting toilets especially need to be bone-dry before storage.
How Long Can You Store A Camping Toilet?
A well-cleaned and stored camping toilet can last for months—even over a year—without problems. However, the type of toilet and your storage conditions matter.
- Plastic bucket toilets: Up to a year in a dry spot.
- Chemical toilets: 6-12 months if seals are checked.
- Composting toilets: Best to air out every 3-4 months.
Remember, even if you store for a long time, always inspect and clean before use.
When To Replace Your Camping Toilet
No toilet lasts forever. Here’s when you should consider replacing:
- Cracked or warped plastic that can’t be fixed.
- Seals that leak even after replacement.
- Persistent, strong odors after cleaning.
- Broken flush or moving parts.
A good camping toilet, stored well, can last 3–5 years or longer. Poor storage shortens its life quickly.

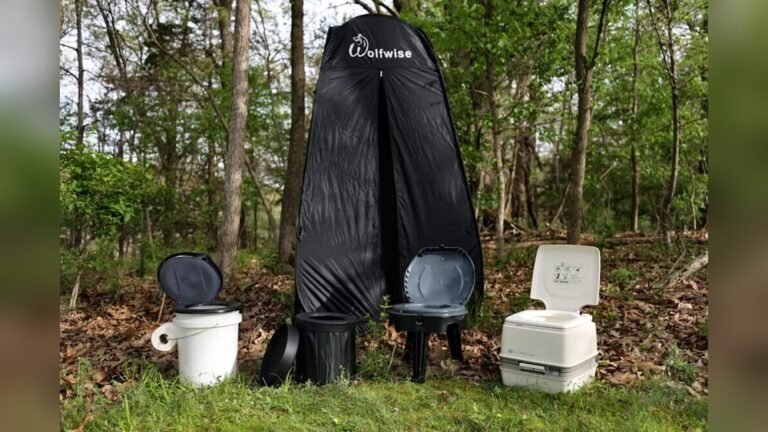
Credit: www.amazon.com
Practical Tips For Small Spaces And Car Camping
If you camp in a small car or have limited storage at home, you still have options:
- Choose a compact toilet model.
- Use stackable bins for toilet and supplies.
- Store under a bed or in a closet.
- Collapse folding models to save space.
For car campers, place the toilet in a waterproof bag in the trunk. Secure with bungee cords so it doesn’t shift during travel.
Environmental And Legal Tips
Never dump waste in nature. Always follow local rules. Many parks have clear guidelines for disposing of camping toilet waste. Some even ban chemical toilets—always check before you go.
For more details on the legal side, you can find reliable guidelines at the US National Park Service.
Frequently Asked Questions
How Do I Stop My Camping Toilet From Smelling In Storage?
Clean and dry your toilet fully before storing. Add baking soda or a charcoal packet inside. Store in a sealed container, away from heat and moisture.
Can I Store My Camping Toilet Outside?
It’s not recommended. Sun, rain, and animals can damage your toilet. Always store indoors, in a cool, dry place.
What Should I Do If I Find Mold Inside?
Remove all mold with a vinegar solution and scrub well. Dry fully before storing again. If mold keeps coming back, check for cracks or leaks.
How Often Should I Check My Stored Toilet?
Check every 2–3 months, especially in humid climates. Look for moisture, pests, or odor. Air out if needed.
Can I Use Home Cleaning Products On My Camping Toilet?
Mild soaps and vinegar are safe. Avoid bleach or harsh chemicals—they can damage seals and plastic.
Storing a camping toilet isn’t glamorous, but it’s essential for a clean, stress-free adventure. Take these steps now, and you’ll never face a nasty surprise at the campsite again.