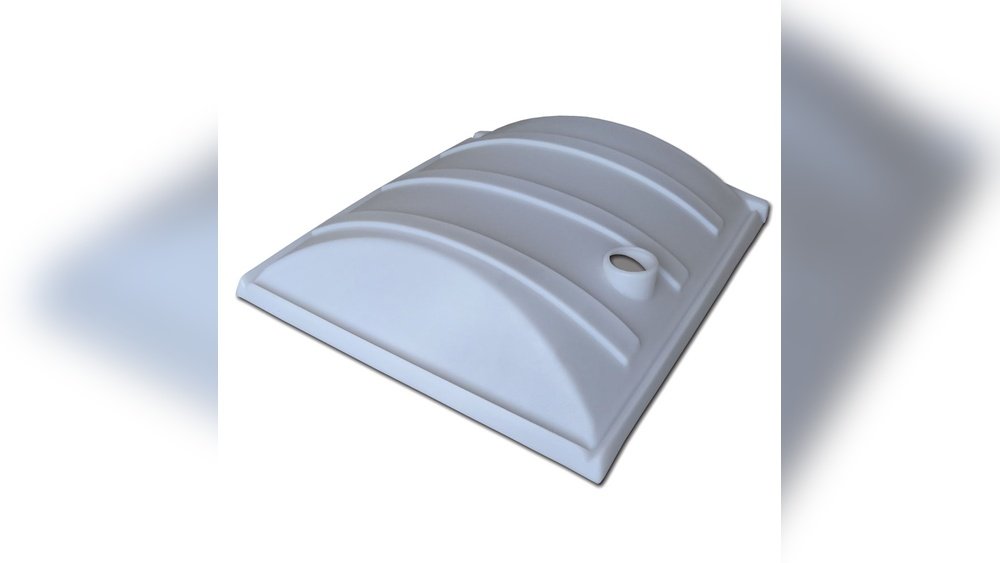
How to Replace Camping Toilet Parts: Easy DIY Guide
Replacing camping toilet parts is a skill that can save you time, money, and frustration. When your portable toilet stops working at the campsite, it can ruin your trip. But with the right knowledge, most fixes are simple and quick.
Whether you use a basic bucket toilet or a high-tech cassette toilet, knowing how to swap out parts helps you keep things fresh and clean. This guide will walk you through everything you need to know. If you’re new to camping toilets, or just want to be prepared, you’ll find everything explained in simple, clear steps.
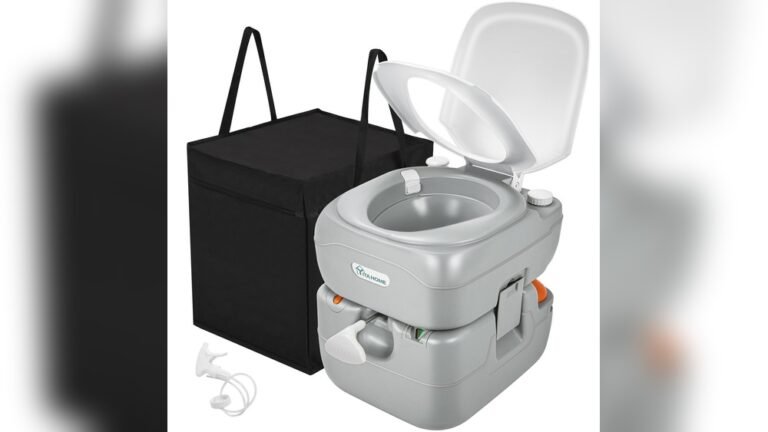
Common Camping Toilet Types And Their Parts
Before you start, it’s important to know what kind of toilet you have. Most camping toilets fall into one of these categories:
- Portable flush toilets (cassette toilets)
- Bucket toilets
- Composting toilets
- Chemical toilets
Each type has its own parts. But many share similar items: seats, lids, seals, tanks, valves, hoses, and flush mechanisms.
Here’s a quick comparison of the main camping toilet types and their parts:
| Toilet Type | Key Parts | Ease of Repair | Cost of Parts |
|---|---|---|---|
| Portable Flush | Seat, lid, seal, flush pump, waste tank | Moderate | Medium |
| Bucke | Seat, lid, waste bag | Easy | Low |
| Composting | Seat, fan, vent hose, solids bin | Hard | High |
| Chemical | Seat, lid, chemical tank, flush handle | Moderate | Medium |
Knowing your toilet type helps you find the right parts and instructions.
Essential Tools And Supplies
Most camping toilet repairs do not need special tools. Here’s what you should have:
- Screwdriver set (Phillips and flathead)
- Pliers
- Rubber gloves
- Bucket or basin (to catch spills)
- Cleaning spray
- Replacement parts (seals, valves, hoses, etc.)
- Towels or rags
Keep these handy in your camping gear. Some toilet models need a wrench or specialty tool, so check your manual.
How To Identify Broken Or Worn Parts
Before you replace anything, you need to know what’s wrong. Look for these signs:
- Leaking water or waste (often means a bad seal or cracked tank)
- Weak flush or no flush (flush pump or valve issue)
- Bad smell (seal, vent, or chemical problem)
- Difficulty opening or closing (broken latch or hinge)
- Water not staying in bowl (seal issue)
Inspect the toilet carefully. Touch seals and hoses—are they cracked, hard, or loose? Is the flush handle wobbly? These clues help you find what needs replacement.
Step-by-step Guide To Replacing Camping Toilet Parts
Replacing parts may sound hard, but it’s usually simple. Below are steps for the most common repairs.
1. Replacing The Seat Or Lid
The seat and lid often break from heavy use.
- Remove the toilet from its base if possible.
- Open the seat and lid fully.
- Look for screws or clips at the hinge.
- Unscrew or unclip to remove the old seat/lid.
- Attach the new part, tighten screws or snap in place.
- Test for movement and fit.
Tip: Always use the right size part. Many brands use unique hinge widths.
2. Replacing The Seal Or Gasket
The seal (or gasket) keeps smells and water in. It wears out with time and chemicals.
- Drain and clean the toilet.
- Locate the seal (usually between the bowl and tank).
- Pry out the old seal gently with a screwdriver.
- Clean the area with disinfectant.
- Rub a little silicone grease on the new seal.
- Press the new seal into place.
- Reassemble and test for leaks.
Insight: Some seals look fine but are hard or brittle. Always replace if unsure.
3. Replacing The Flush Pump Or Handle
If the flush does not work, the pump or handle could be broken.
- Remove the water tank.
- Find the flush pump/handle (usually on the side or top).
- Unscrew or twist off the broken part.
- Fit the new pump/handle.
- Reattach the tank.
- Fill with water and test.
Non-obvious tip: Sometimes the pump only needs cleaning, not full replacement. Always check for clogs first.
4. Replacing Valves And Hoses
Valves and hoses control water flow. They can crack or leak over time.
- Empty all water and waste.
- Use pliers to loosen hose clamps.
- Pull off the old hose or valve.
- Put the new part in place.
- Tighten clamps.
- Check for leaks with water.
Extra advice: Use hose clamps, not zip ties, for a secure fit.
5. Fixing Cracks Or Replacing Tanks
A cracked tank often means buying a new tank. Small cracks can sometimes be sealed with epoxy, but this is temporary.
- Remove the tank from the toilet.
- Check for the part number.
- Order a replacement tank from the brand.
- Install the new tank, making sure all seals fit tight.
Fact: Over 60% of portable toilet leaks are from worn or cracked tanks. Always handle tanks gently.
Choosing The Right Replacement Parts
Not all parts are universal. Here’s how to make sure you get the right fit:
- Know your brand and model number (usually on a sticker under the toilet)
- Take photos of the broken part for reference
- Check size and shape (hinges, seals, tanks vary)
- Order from a trusted seller (brand website or reputable camping store)
- Read reviews—some aftermarket parts are low quality
| Part | Universal? | Brand Specific? | Average Price (USD) |
|---|---|---|---|
| Seat & Lid | No | Yes | $15–$30 |
| Seal/Gasket | Sometimes | Often | $8–$20 |
| Flush Pump | No | Yes | $12–$25 |
| Hoses | Yes | Rarely | $5–$12 |
| Tank | No | Yes | $30–$70 |
Insight: Many campers waste money by buying the wrong part. Double-check before you order.
Safety Tips For Replacing Toilet Parts
Camping toilets are for waste, so always stay safe:
- Wear gloves at all times.
- Clean all parts before and after handling.
- Work outside or in a well-ventilated place.
- Avoid mixing chemicals (for chemical toilets).
- Wash hands with soap after finishing.
If you see mold or strong odors, clean the whole unit with a disinfectant.
Credit: pinelandsgemeente.co.za
Troubleshooting After Replacing Parts
Sometimes, the toilet still does not work after changing a part. Here’s how to troubleshoot:
- Leaks remain: Check if seals are installed flat and tight.
- Flush still weak: Pump may be clogged or air-locked. Open and clean.
- Bad smell persists: Check for hidden cracks or missed seals.
- Handle or lid loose: Tighten screws or replace hinges.
- Water not draining: Check for blockages in the hose or valve.
If you’ve replaced everything and problems continue, the toilet itself may be too old or damaged.
When To Replace The Whole Toilet
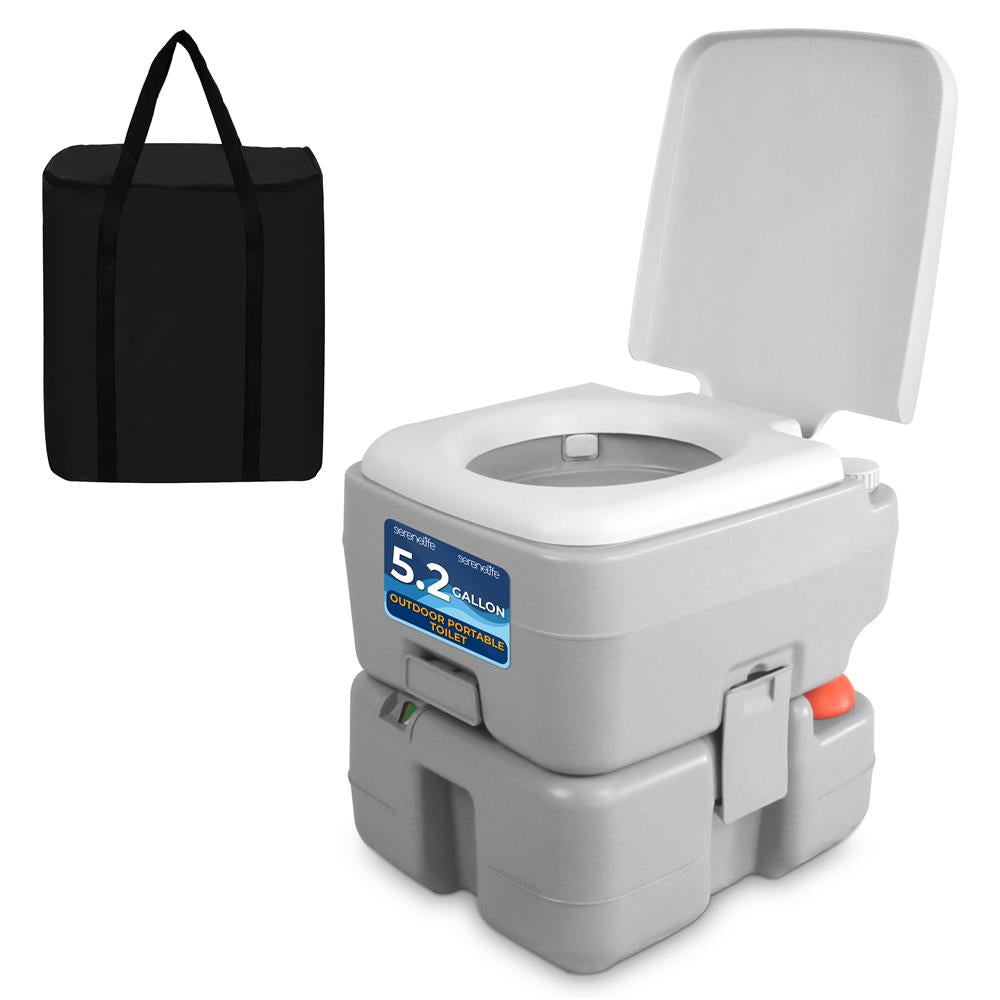
Repairs save money, but sometimes a new toilet is best. Replace your camping toilet if:
- Cracks are large or in multiple places
- Seals do not work even after replacement
- Parts are no longer made for your model
- Bad smells never go away
- Flush system is completely broken
A good camping toilet lasts 5–7 years with care. If yours is older, a new one may be a better investment.

Credit: www.amazon.com
Money-saving Tips For Campers
- Buy multipacks of seals and gaskets. They wear out faster than you think.
- Clean regularly to extend part life.
- Store your toilet dry and open when not in use.
- Look for warranty—many toilets have a 1–3 year coverage.
- Join camping forums for repair tips and part deals.
A little care goes a long way. Most campers who maintain their toilets spend less than $25 per year on repairs.
Real-world Example
Lisa, an experienced camper, noticed her portable toilet was leaking. She found the seal was hard and cracked. After buying the right replacement ($12), she swapped it out in 10 minutes. No more leaks—her toilet felt brand new. This simple repair saved her from buying a $70 new toilet.
Credit: www.leesan.com
Where To Find More Help
If you’re stuck, try these:
- YouTube has many repair videos for common models.
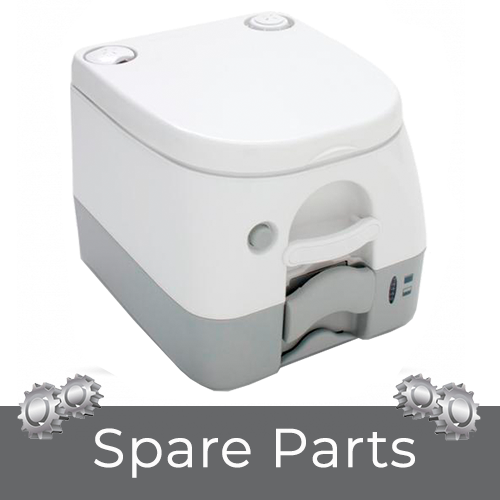
- Manufacturer websites offer manuals and part diagrams.
- Camping forums like iRV2 have advice from real users.
- For more detailed technical info, see the Wikipedia page on portable toilets.
Frequently Asked Questions
How Often Should I Replace Seals In My Camping Toilet?
Most seals last 1–2 years with regular use. If you camp often, check them every 6 months for cracks or leaks.
Can I Use Household Parts To Fix My Camping Toilet?
It’s best to use parts made for your toilet brand. Household seals or hoses may not fit right or could cause leaks.
Why Does My Toilet Still Smell After Replacing The Seal?
Odors can come from hidden cracks, old tanks, or dirty valves. Clean all parts and check for damage. Using the right chemicals also helps.
Is It Safe To Repair A Chemical Camping Toilet Myself?
Yes, but always wear gloves and work in a ventilated area. Never mix chemicals, and follow the instructions for your toilet model.
Where Can I Buy Camping Toilet Replacement Parts?
You can find parts at camping stores, online retailers, or the brand’s website. Always double-check your model number before buying.
Replacing camping toilet parts is not hard if you know what to look for and use the right tools. Take care of your toilet, and it will take care of you—no matter where your next adventure leads.