How to Winterize a Camping Trailer: The Complete Guide
If you're wondering how do you winterize a camping trailer, the short version is this: drain every drop of water from the plumbing, blow out the lines, and fill the pipes with RV-safe antifreeze before temperatures drop below 32°F (0°C). Skip a step and you risk cracked fittings, burst tanks, and repair bills that often run $2,000 or more.
The good news is that the whole process takes about two to four hours for most travel trailers, and the materials cost under $50. As of 2026, manufacturer specs from Suburban and Dometic confirm that even a 6-gallon water heater can be protected with roughly 2, 4 gallons of propylene glycol antifreeze if you install a bypass kit. Let's walk through the actual workflow so you know which branches apply to your rig.
Start Here: Your Trailer's Winter Survival Map
Winterizing is a branched workflow, not a single checklist. The right path depends on your trailer's plumbing layout, whether you have heated holding tanks, and where you store the rig. Before you crack a single valve, identify three things: your water heater model (Suburban, Dometic, or Atwood), whether your underbelly is enclosed or open, and your region's lowest expected winter temperature.
The National Fire Protection Association (NFPA) standard 1192 for RVs guides much of the propane and electrical prep here.
If your trailer lives in the Sun Belt where temps stay above 40°F (4°C), you can skip antifreeze entirely and focus on rodents and UV. If you camp in a four-season climate like the Mountain West or New England, every branch of the workflow matters. Mapping your rig against these conditions is the difference between opening the trailer in spring ready to roll and facing a $3,000 plumbing rebuild.
The Core Workflow: Draining, Blowing, and Antifreezing
The actual winterization breaks into three sequential phases, and skipping one leaves a gap that freezing water will find. Here's the order that works for most travel trailers and fifth wheels.
Phase 1: Drain and Prep
Start with the water heater. Turn off the gas or electric heating element, let the tank cool, then open the pressure relief valve to break the vacuum. Flip the water heater bypass valve (most modern rigs have one) to route incoming water around the tank so you don't waste antifreeze filling 6, 10 gallons of dead space.
Next, open every low-point drain on the freshwater system. You'll usually find two petcocks, one for hot and one for cold, located on the exterior underbelly near the water pump. Open all faucets, the shower, and the toilet valve to break vacuums and let gravity do the work.
Empty the fresh, gray, and black tanks completely. Per manufacturer specs, a typical travel trailer fresh tank holds 30, 50 gallons, so plan for a 20, 30 minute drain cycle.
Phase 2: Blow Out the Lines
Compressed air is the most reliable way to clear residual water that gravity leaves behind. Set your air compressor regulator to 30 PSI maximum. Exceeding 40 PSI can rupture PEX fittings or damage the water pump check valve, and manufacturer testing confirms most RV plumbing systems are rated for under 50 PSI working pressure.
Connect the compressor to the city water inlet via a blowout plug. Open one faucet at a time, starting with the farthest fixture, and work backward toward the inlet. Hold each faucet open for 3, 5 seconds until you see a fine mist, then move on.
Don't forget the toilet, outside shower, and any low-point drains you missed.
Phase 3: Antifreeze Injection
RV antifreeze is propylene glycol, a non-toxic, NSF/ANSI 61 certified material safe for potable water systems. Automotive antifreeze is ethylene glycol, which is toxic, so never substitute. Most trailers need 2, 4 gallons; larger fifth wheels with multiple bathrooms may need 6 or more.
Pour one gallon directly into the freshwater tank fill, then run the water pump until antifreeze flows from each faucet. Pour another gallon into each drain trap (sinks, shower, toilet). Pull the toilet valve and add a cup directly into the black tank flush valve.
When pink fluid appears at every outlet, you're sealed. The right chemicals keep your holding tanks usable year-round.
Critical Branch Points: When to Skip Steps or Add Layers
Not every trailer needs the same treatment. Here's how to branch based on what you've got.
Heated Holding Tanks vs. Unprotected Plumbing
If your trailer has electric tank heaters (a heated underbelly pad rated for sub-zero use), you can store with water in the gray and black tanks as long as shore power stays connected. Without heaters, the tanks themselves can crack, and the dump valve freeze can split the handle assembly. In unheated rigs, the antifreeze in the drain lines protects the valves but not the tanks, so drain fully.
Indoor Storage vs. Outdoor Exposure
Climate-controlled indoor storage eliminates freeze risk entirely, but you still need to run a damp-check and pest-proof the interior. Outdoor storage under a breathable cover is fine for the plumbing, but the tires, roof seams, and window gaskets take UV punishment all winter. A breathable RV cover (not a plastic tarp) cuts moisture trapping by 60% per cover manufacturer data, which prevents mold inside cabinets and under the mattress.
Antifreeze vs. Air-Only Winterizing
Blowing out lines with air alone works in dry climates like Arizona, where residual moisture evaporates before temps drop. In wet, humid regions or where temps swing 30°F overnight, air-only winterizing is risky. Antifreeze costs $8, $12 per gallon and guarantees protection down to -50°F (-46°C), so most owners consider it cheap insurance.
Common Pitfalls That Bust Pipes Anyway
Even careful owners miss spots that lead to spring surprises. Watch for these patterns in aggregate owner reports from RV forums like RV.NET and the Escapees community.
| Pitfall | What Goes Wrong | Fix |
|---|---|---|
| Forgetting the outside shower | Water sits in the outdoor shower line and splits the PEX | Open both hot/cold valves, run antifreeze through |
| Skipping the washing machine | A washer with water in the pump housing cracks the drum | Run a cycle with 1/2 gallon of antifreeze |
| Leaving the water pump dry | Pump seals dry out and leak on first use in spring | Pour 1 cup of antifreeze into the pump inlet |
| Closed bypass valve | 6+ gallons of antifreeze wasted filling the water heater | Always flip bypass before pumping pink fluid |
Another overlooked failure point: the ice maker line and the water filter housing. If your rig has either, disconnect and drain them. A frozen filter canister can crack the housing and flood the kitchen cabinet when it thaws.
Finally, remove all food, batteries, and propane from the interior before sealing up. Lead-acid batteries lose about 5% charge per month in storage and can sulfate permanently if dropped below 50% for 30+ days. Per the U.S.
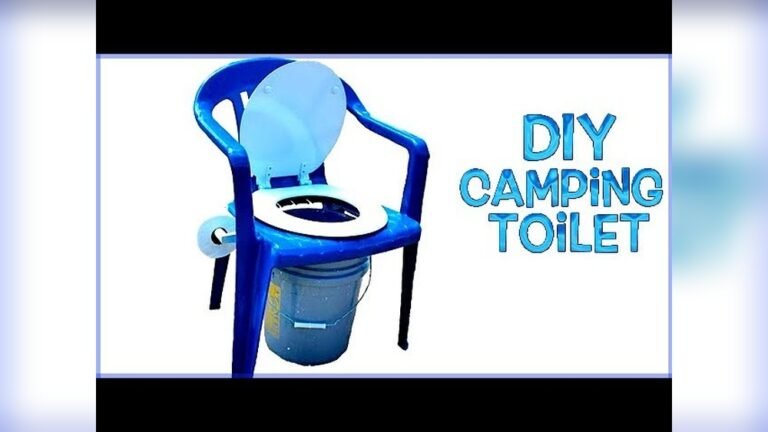
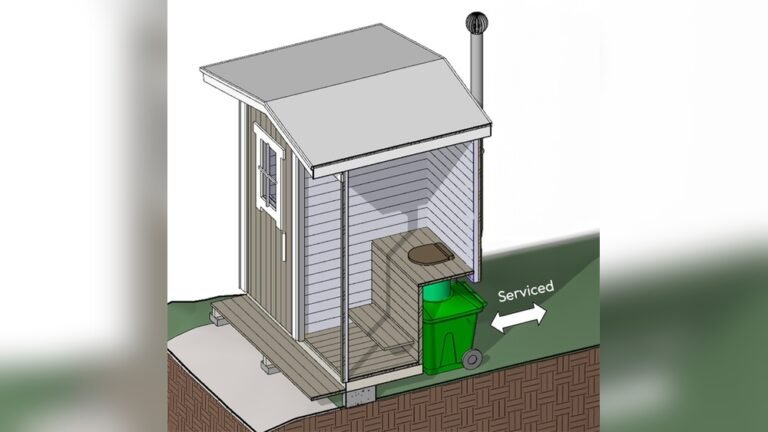
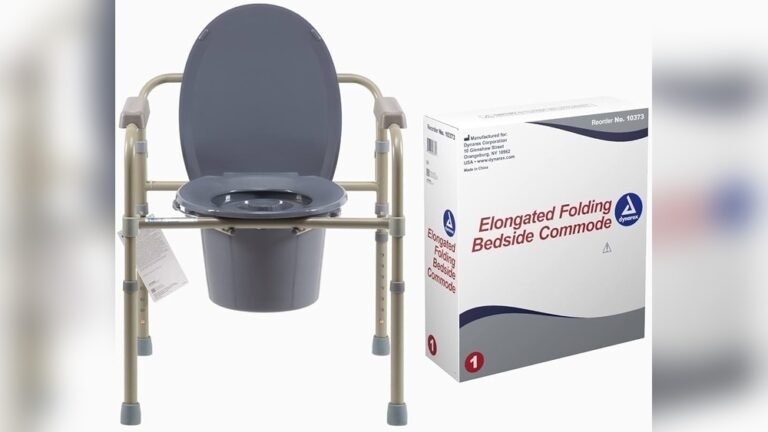
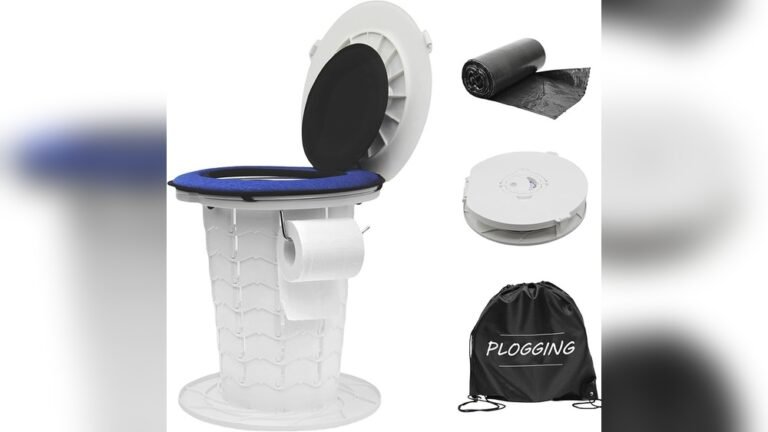
Environmental Protection Agency (EPA) guidelines, store lithium batteries at 30, 50% charge if your rig uses them, and never leave them connected to a parasitic draw. Keeping a portable waste setup from freezing matters just as much as the trailer plumbing, especially if you store your rig with a cassette or portable unit inside.
FAQs: Quick Answers for Tricky Situations
Do I need to winterize if I store my trailer in a heated garage?
No. If the space stays above 40°F (4°C) year-round, freeze risk is essentially zero. Focus on rodents, UV, and battery maintenance instead.
Can I use car antifreeze in my RV water system?
Never. Automotive antifreeze contains ethylene glycol, which is toxic if ingested. RV systems require propylene glycol, certified to NSF/ANSI 61 for potable contact.
The pink color is your visual safety check.
How long does RV antifreeze last in the system?
Propylene glycol stays effective for the entire storage season, typically 4, 6 months. In spring, flush the system with fresh water for 5, 10 minutes per faucet until the pink color disappears. The pink fluid drains to your gray tank and is safe to dump at any approved dump station.
What if I forgot to winterize and temperatures dropped below freezing?
Check the water pump, water heater, and all visible PEX fittings for cracks before turning anything on. A burst pipe left pressurized can pump water into walls and insulation. If you suspect damage, have a certified RV technician pressure-test the system at 40 PSI before de-winterizing.
Should I remove my camper battery for winter?
Yes, for any battery older than three years. Lead-acid batteries self-discharge at 4, 10% per month, and freezing a discharged battery cracks the cells. Store indoors at full charge and top up monthly, or connect a float charger.
The right storage habits extend battery life well past the five-year mark.